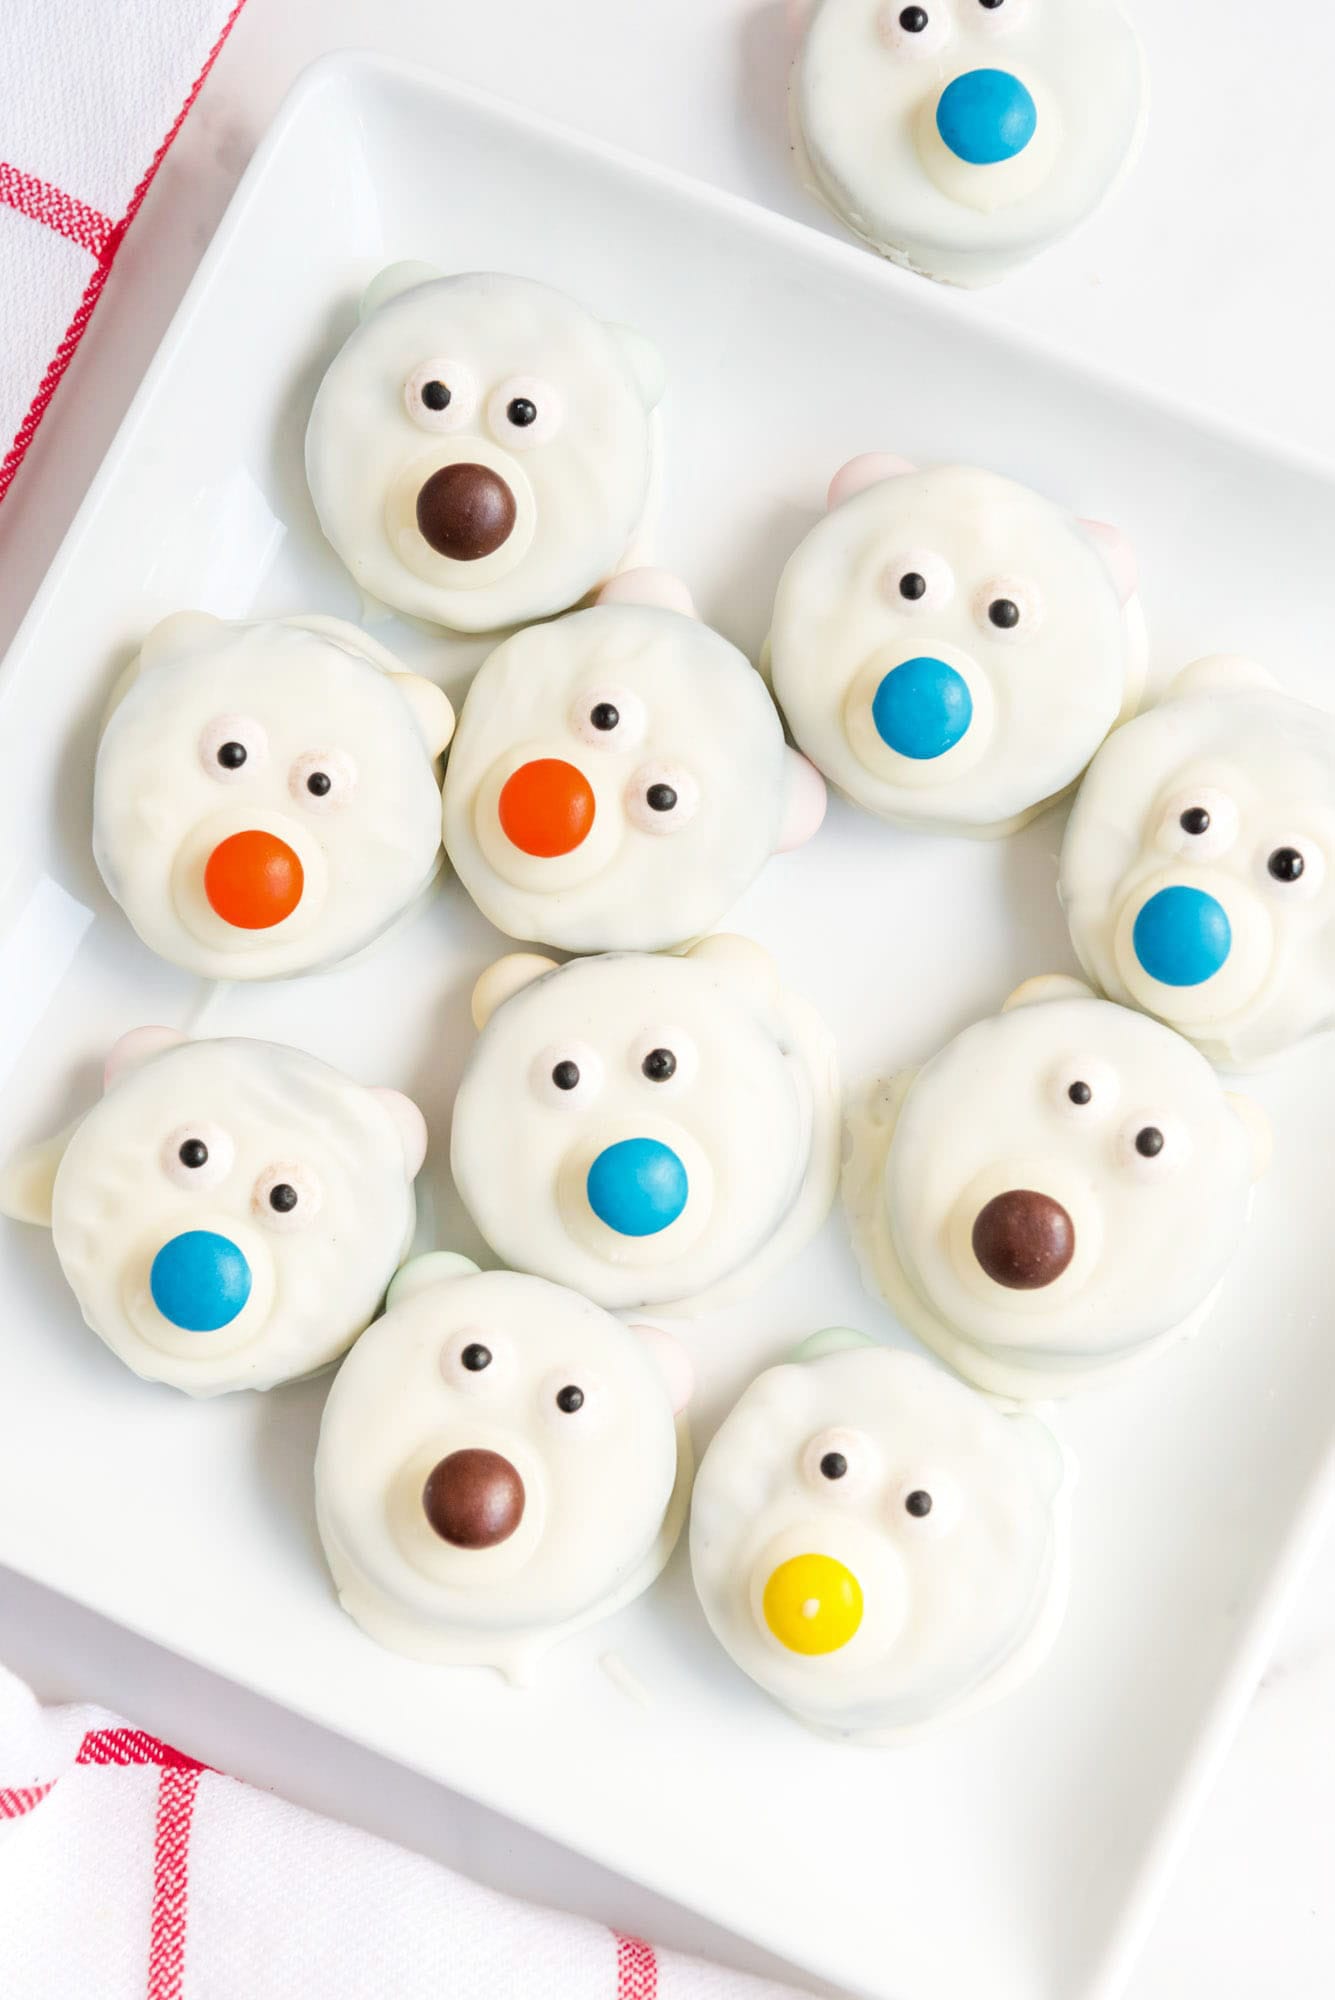
These no-bake Polar Bear Oreo cookies are perfect for a kids holiday-themed party! They’re done in under an hour, and require just 5 simple ingredients. They’re also great to add some fun and color to your holiday cookie tray!
A cookie that I love making every year is chocolate-covered Oreos, I normally just dip regular Oreos in milk chocolate and decorate with holiday sprinkles. But kids love fun stuff, and my 10 y.o niece showed me this super cute frozen winter or Polar Bear design and I knew I had to share it with you all!
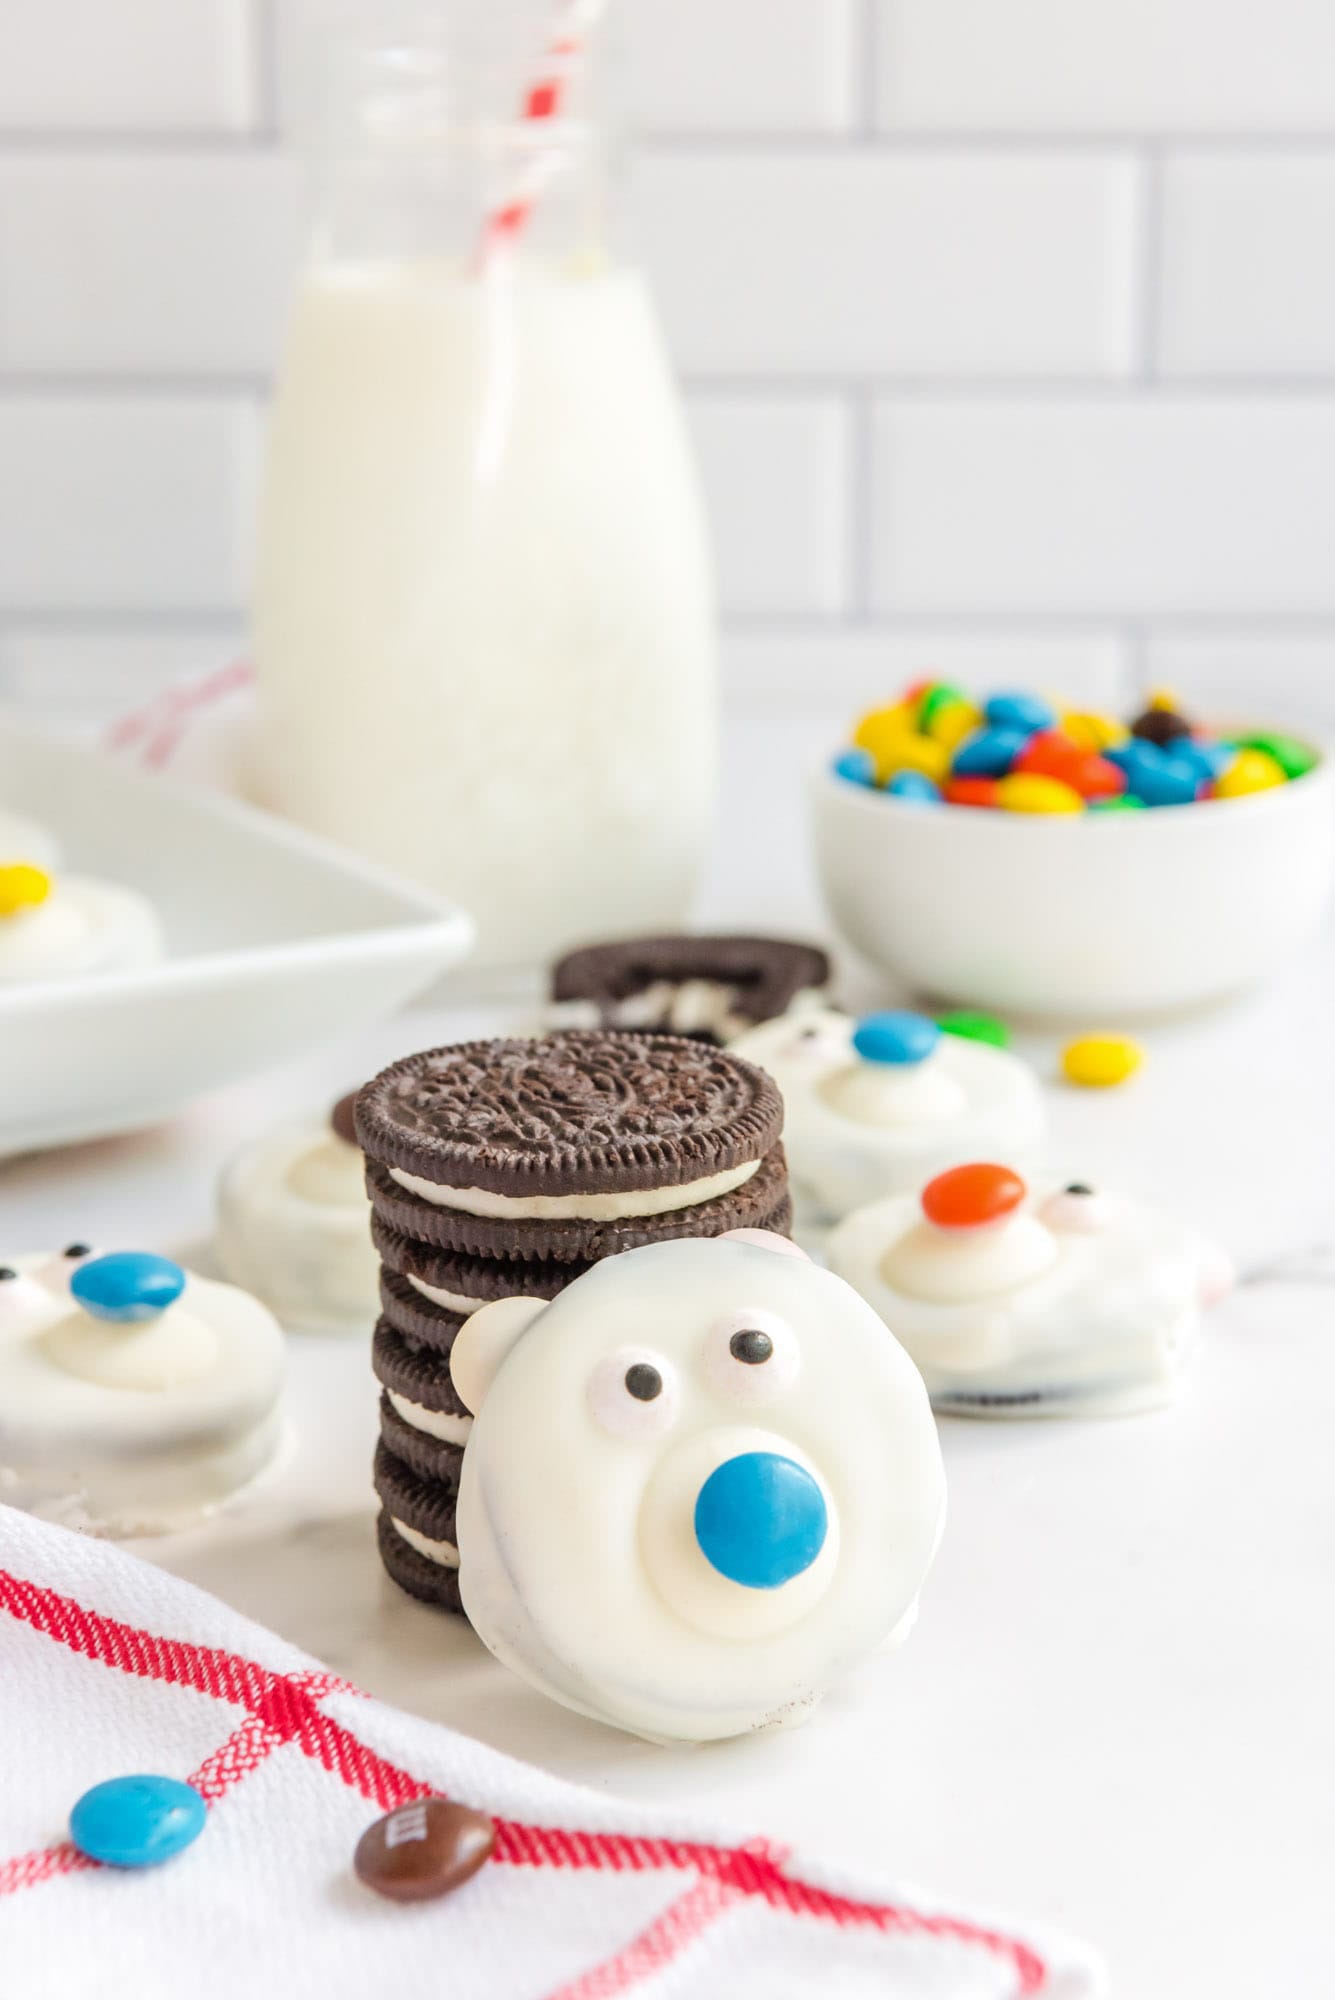
We used double-stuffed Oreos, added some M&M’s for the ears, then dipped them in white candy coating and decorated them with more melting wafers, M&M’s, and candy eyes. The result was so great and all the kids wanted to help make them!
Looking for more fun and easy no-bake cookies or treats? Try my Avalanche Cookies, No-bake Sugar Cookies, Scotcheroo Truffles, or these Haystack Cookies!
Join our Facebook Cookie Group! It’s a community of people who LOVE baking cookies! Join us to find new recipes, share recipes, or to ask cookie questions! 💕
Why You’ll Love This Recipe
- No-Bake! This recipe requires no baking, and the candy coating can be melted using a double boiler or the microwave.
- No Recipe. I’m not even sure that we call this a recipe, it’s so simple as all you have to do is dip the Oreos in candy coating and decorate!
- No Special Equipment Needed. Seriously, all you need is a bowl, fork, and a parchment lined cookie sheet.
Key Ingredients

Complete list of ingredients with quantities and instructions is located in the recipe card below
- Oreos: Be sure to use double-stuffed Oreos, otherwise the M&M will have a hard time being sandwiched in.
- Melting Wafers: I used white melting wafers, feel free to swap this for almond bark or white chocolate chips.
- M&M’s: Use M&M’s candy, Reese’s Pieces, or any other similar candy to decorate.
- Shortening: Crisco is used to help soften your chocolate. Without it, the chocolate will be thicker and harder to use.
- Candy Eyes: I use small candy eyes, but black icing, black round sprinkles, or mini chocolate chips can also be used.
How to Make Chocolate Covered Oreos

- Prepare a large cookie sheet with parchment paper and set it aside.
- Place two M&M candies at the top of each Oreo, in between the cookies, and into the filling to form your polar bear ears. Do this for all 12 Oreo cookies and place each cookie on the parchment paper.
- Melt the Chocolate: Add the melting wafers to a large bowl, reserve 12 wafers for the polar bear nose, and set them aside. Next, place that bowl over a stovetop pot containing 3-4 inches of water. Bring water to a boil, creating a double boiler. Stir the wafers frequently using a rubber spatula as the chocolate melts. Add the shortening and continue to stir until the chocolate is smooth, silky, and fully melted. When done, remove from heat.
- Dip: Using two forks or dipping tools, dip each Oreo into the melted chocolate, covering it completely. Be sure to cover the M&M candies as well.
- Decorate: Place each chocolate-covered Oreo on parchment paper and immediately add one white wafer to the bottom center of each Oreo creaking the bear’s snout. Add a small dollop of white melting chocolate to each M&M’s (the M&M printed side) and place in the center of the white wafer, creating the bear’s nose. Place two eye candies above the white wafer. Repeat this process for all polar bear cookies.
- Chill: Place in the refrigerator and allow to cool and harden for an additional 20 minutes before serving.
Recipe Tips
- You can use whatever colors you want for the polar bear’s nose. Blue and brown may be the most realistic. Be sure to select the nose colors first before sandwiching the ears inside the cookie.
- You must use double-stuffed Oreos for this recipe. The M&M’s used for ears cannot be sandwiched in using regular-sized Oreos.
- Coat Well! When coating the polar bears & ears in melted chocolate, move the Oreo cookie side to side and up and down, inviting the chocolate to move around the ears and into the space between the cookie, cream, and ears. Do this slowly.

FAQs
Yes, these no-bake cookies can be frozen in an airtight container for up to 3 months. But keep in mind that the texture might change a little due to condensation that might happen when freezing or thawing the cookies.
These are perfect for making ahead! I suggest making them 2-3 weeks ahead, and storing them in an airtight container in the fridge.


Throwing a frozen winter-themed party? Add the adorable Polar Bear Cupcakes to the menu!
Have fun making these easy Polar Bear Oreos! You might want to make two batches – these go quickly at parties! Pin this unique recipe so that more people can try it too.

Polar Bears Oreos
Equipment
- Spatula
Ingredients
- 12 chocolate double stuffed Oreo cookies
- 36 M&M’s
- 10-ounce bag white melting wafers
- 1 tablespoon shortening
- 24 small edible eye candy
Instructions
- Prepare a large cookie sheet with parchment paper and set aside.
- Place two M&M candies at the top of each Oreo, in between the cookies and into the filling to form your polar bear ears. Do this for all 12 Oreo cookies and place each cookie on the parchment paper.
- Add the melting wafers to a large bowl, reserve 12 wafers for the polar bear nose and set aside. Next, place that bowl over a stovetop pot containing 3-4 inches of water. Bring water to a boil, creating a double boiler.
- Stir the wafers frequently using a rubber spatula as the chocolate melts. Add the shortening and continue to stir until the chocolate is smooth, silky, and fully melted. When done, remove from heat.
- Using two forks or dipping tools, dip each Oreo into the melted chocolate, covering it completely. Be sure to cover the M&M candies as well.
- Place each chocolate covered Oreo on parchment paper and immediately add one white wafer to the bottom center of each Oreo creaking the bear’s snout.
- Add a small dollop of white melting chocolate to each M&M’s (the M&M printed side) and place in the center of the white wafer, creating the bear’s nose.
- Place two eye candies above the white wafer. Repeat this process for all polar bear cookies.
- Place in the refrigerator and allow to cool and harden for an additional 20 minutes before serving.
Notes
- You can use whatever colors you want for the polar bear’s nose. Blue and brown may be the most realistic. Be sure to select the nose colors first before sandwiching the ears inside the cookie.
- You must use double-stuffed Oreos for this recipe. The M&M’s used for ears cannot be sandwiched in using regular-sized Oreos.
- Coat Well! When coating the polar bears & ears in melted chocolate, move the Oreo cookie side to side and up and down, inviting the chocolate to move around the ears and into the space between the cookie, cream, and ears. Do this slowly.
Nutrition
This website provides approximate nutrition information for convenience and as a courtesy only. Nutrition data is gathered primarily from the USDA Food Composition Database, whenever available, or otherwise other online calculators.
did you make this recipe?
Make sure to follow on Pinterest @funcookierecipes and on Instagram @funcookierecipes


Leave a Review!